Custom Condition
Node Type
Description
Proceed to the next stages of the automation if the data element I’ve chosen meets the conditions I’ve set. We build this as a catch-all condition node to allow you to pick your own variables that may be available in your automation (like custom variables you inject into the automation via a webhook or as part of your Payment Processing Trigger)
When to Use
The Custom Condition node exposes all the objects available to you in your Automation - it’s a catch all and can be used in place of any other Condition node.
How to Use
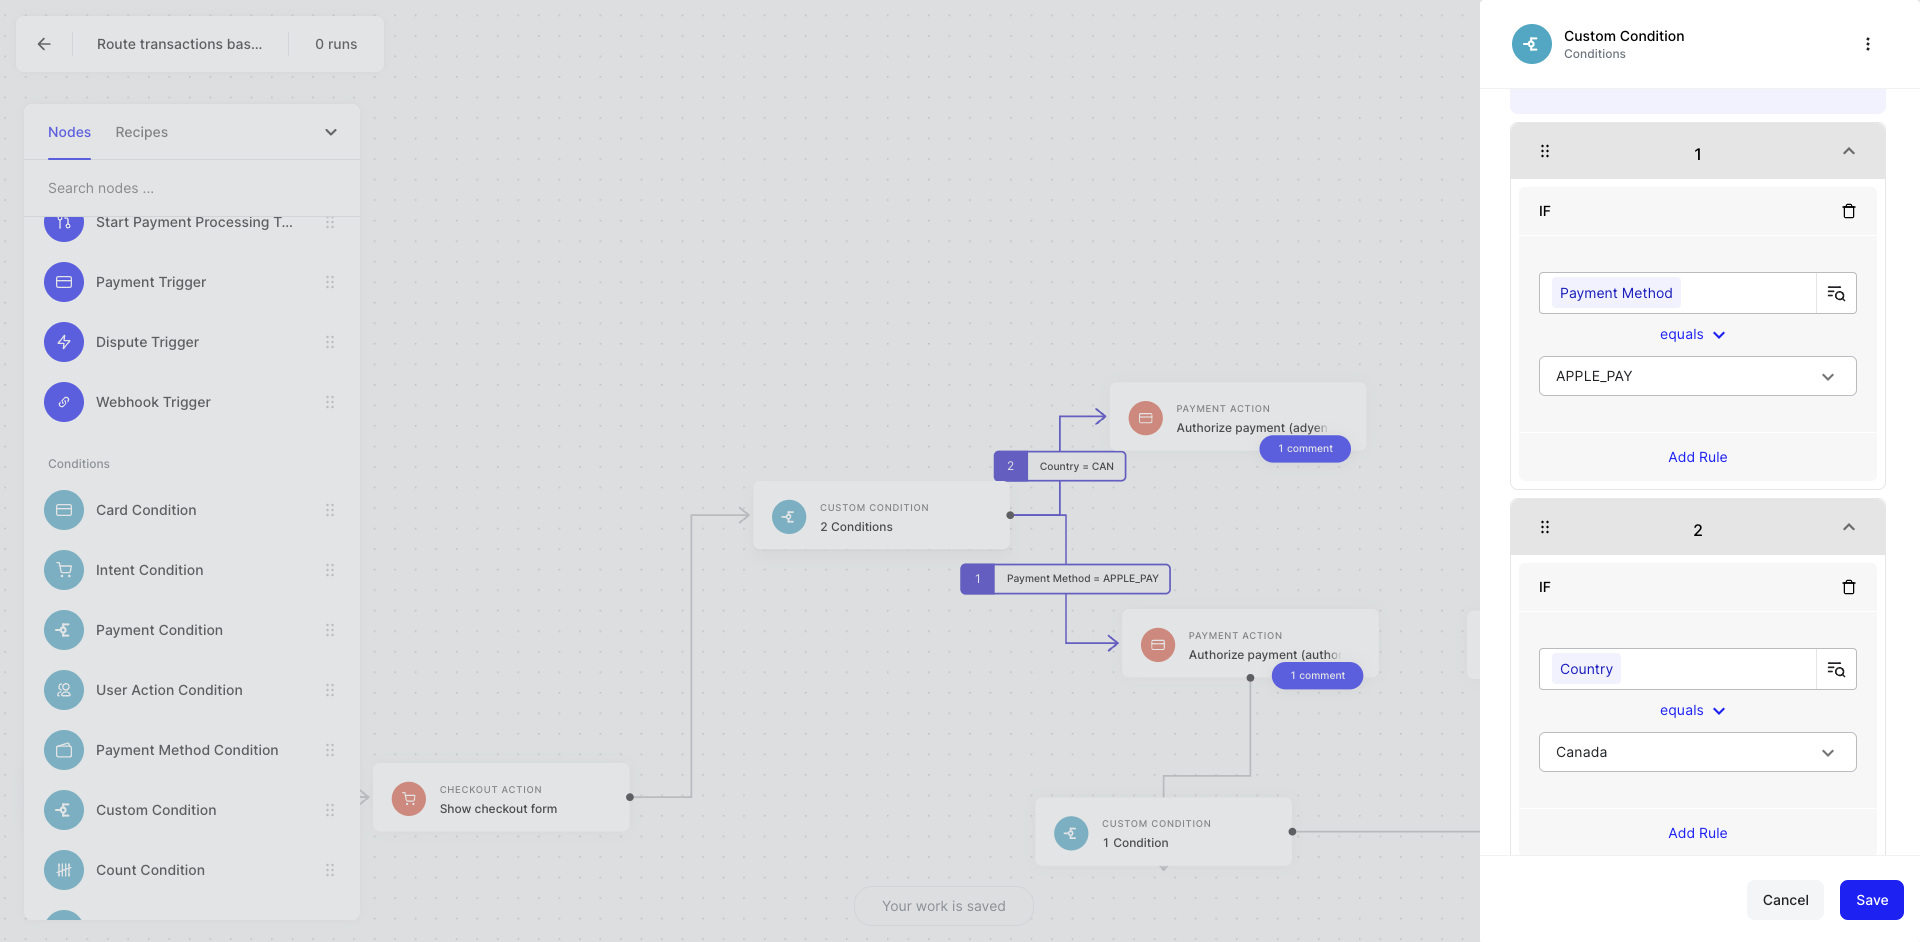
- Drag on the Custom condition to your no-code canvas
- Connect your Custom condition to the next node in your automation to create at least one logical branch
- Click on Custom condition node to see the configuration modal
- Click IF to create conditional logic
- Define a branch by selecting the object selector icon
- Choose any object you wish to create a condition rule about
- Select your conditional argument (e.g., greater than, equals, in-list)
- If applicable, complete your conditional argument by providing a value to compare your object to
- Repeat for any other branches
- Hit save
Example Use Cases
- If a custom variable I’ve included equals an applicable discount code, apply a discount to the purchase amount
- If a custom variable I’ve included equals an indicator for a loyal or VIP customer, send a personalized message via Intercom